續上篇未說完的部分,要如何創建一個新的視窗呢?
那我們現在就來把標題視窗變成兩個吧。
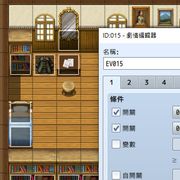
打開自建的Scene_Title_new.js,如果已經改到面目全非的話,可以把全部內容清空,再重新把rpg_scenes.js裡面的Scene_Title()全部再重貼一次。在練習階段經常會改壞掉,所以要習慣重貼。
然後我們再去rpg_windows.js 裡面找Window_Gold() 全段貼到裡面,並且放在Scene_Title()的上面。
為什麼要選Window_Gold()呢?因為他最短...
再來我們需要做兩件事情:
(1)在場景內初始化Window_Gold()
(2)在場景內創建Window_Gold()
首先在Scene_Title_new.js裡面找到這段,新增藍字的部分
Scene_Title.prototype.create = function() {Scene_Base.prototype.create.call(this);this.createBackground();this.createForeground();this.createWindowLayer();this.createCommandWindow();this.createGoldWindow();//初始化Window_Gold()};
然後再找個空白的地方加上以下內容:
//創建Window_Gold()Scene_Title.prototype.createGoldWindow = function() {this._goldWindow = new Window_Gold();this.addWindow(this._goldWindow);};
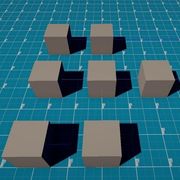
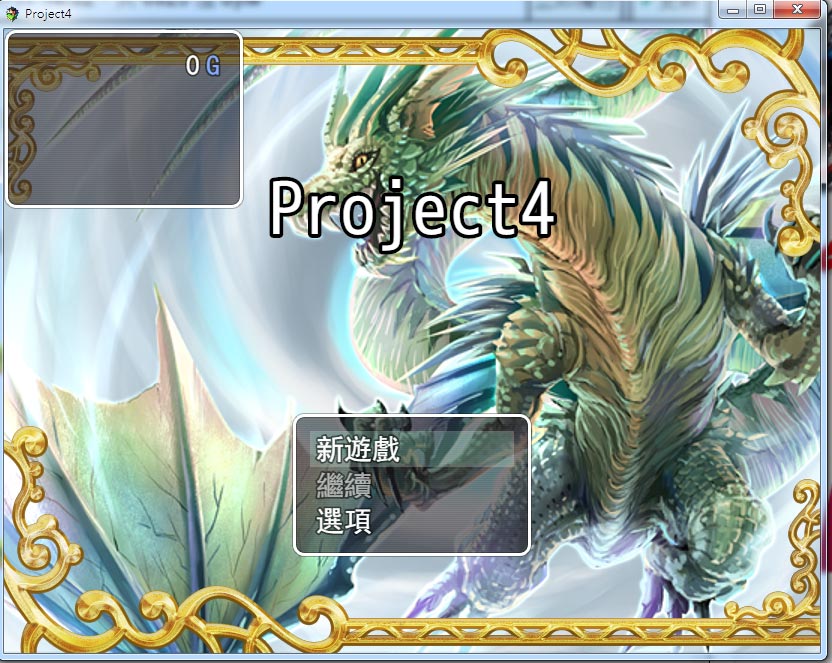
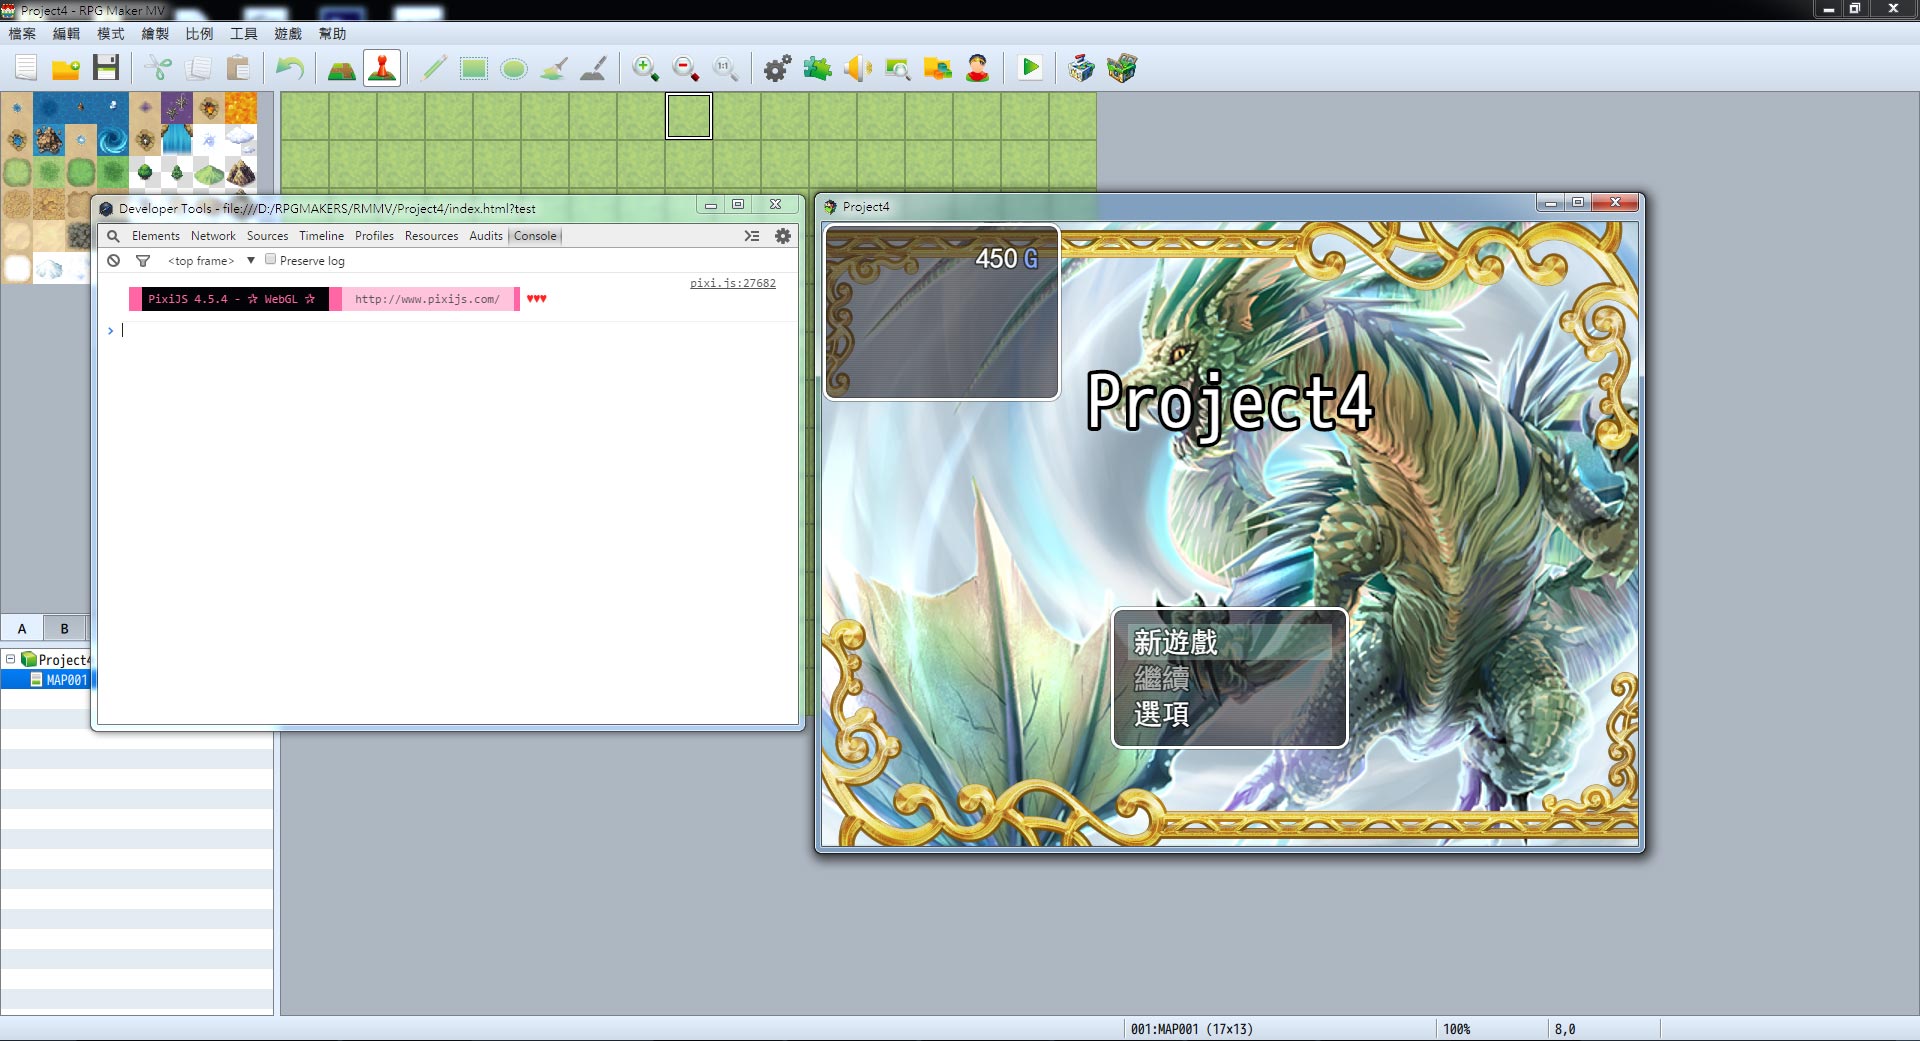
展示一下結果:
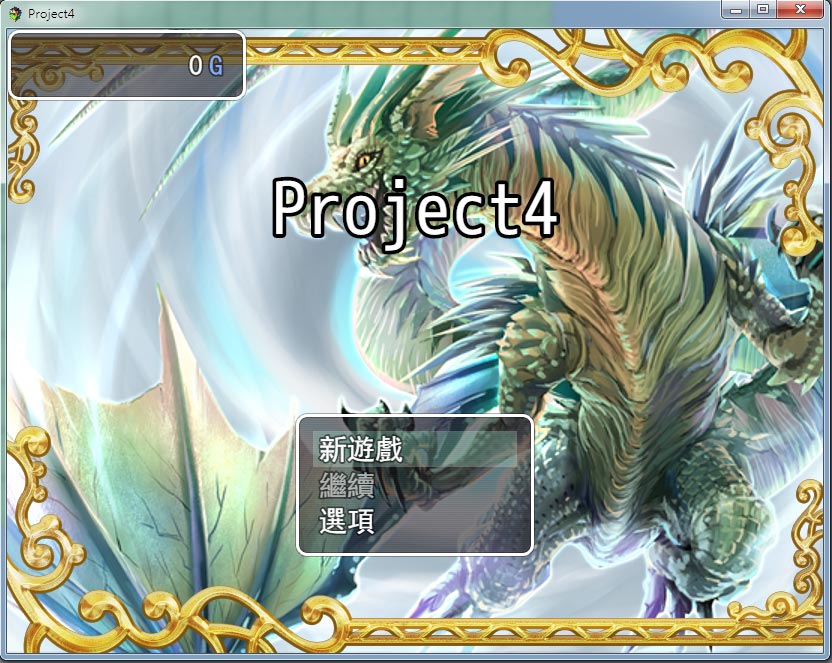
嘩,畫面上多了一個視窗了
可是現在碰到了另一個問題,如果我針對Window_Gold()去修改,比如增加文字,增加圖片改變透明度等等,遊戲裡狀態欄的那個Window_Gold也會跟著變動,他們兩個是一致的。
所以我們必須修改我們自己的視窗,給他一個新的名字。
就叫做Window_Wand()好了,到自建的Scene_Title_new.js裡面,把Window_Gold通通改成Window_Wand。
我是說這些:
這邊改完之後,Scene_Title的地方也要改:
首先找到這段,修改藍字的部分
Scene_Title.prototype.create = function() {Scene_Base.prototype.create.call(this);this.createBackground();this.createForeground();this.createWindowLayer();this.createCommandWindow();this.createWandWindow();};
然後再找個空白的地方加上這段,黃標是最重要的一行:
Scene_Title.prototype.createWandWindow = function() {this._wandWindow = new Window_Wand();this.addWindow(this._wandWindow);};
如此存檔後測試,雖然看起來跟先前一樣,但已經是不一樣的Window了。
現在我們有兩個視窗,層級由上到下分別為:
Window_Wand
↓
this._wandWindow
Window_Gold現在我們已經不需要了,所以不用管他,就看Window_Wand以及this._wandWindow這兩個就好。
如果我們在Window_Wand做變動,比如說更改大小、Skin、透明度等等,會立即反應在this._wandWindow上,但若在this._wandWindow裡做改變,不會影響到Window_Wand,Window_Wand可以多個場景共用,但this._wandWindow只能在目前的場景上使用。
好吧,這段我也寫到我不知道我在寫什麼,直接進行下一段好了,我想要在我的視窗裡顯示一段文字,應該怎麼做呢?
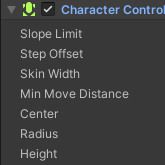
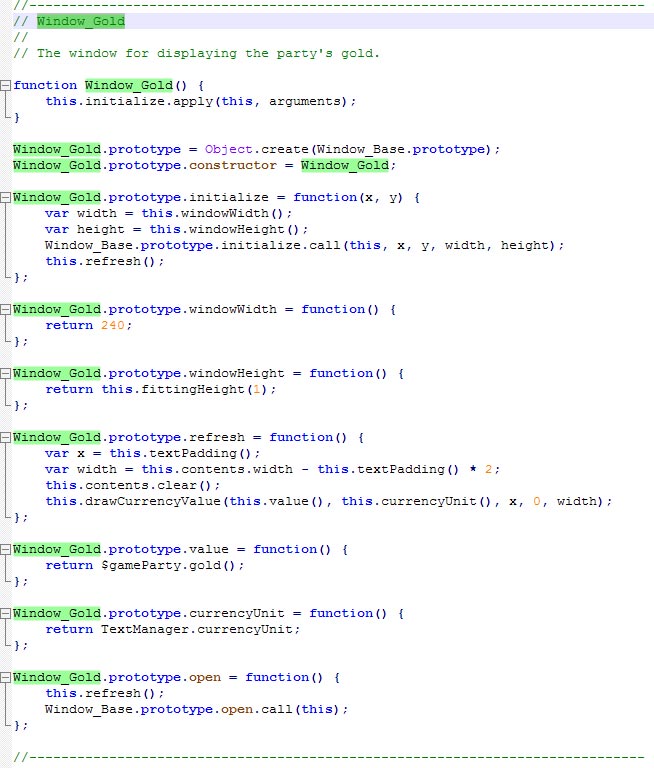
到Window_Wand()去,先來看看裡面裡面到底有些甚麼東西:
Window_Wand.prototype = Object.create(Window_Base.prototype);Window_Wand.prototype.constructor = Window_Wand;Window_Wand.prototype.initialize = function(x, y) {var width = this.windowWidth();var height = this.windowHeight();Window_Base.prototype.initialize.call(this, x, y, width, height);this.refresh();};
以上是宣告,表示他是Window_Base來的,這個Window_Base是所有視窗的基底不能亂改。
藍字的部分設定了兩個變數,分別決定這個視窗的寬跟高。那寬跟高究竟是多少呢?
//回傳寬度為240Window_Wand.prototype.windowWidth = function() {return 240;};//回傳高度為this.fittingHeight(1)Window_Wand.prototype.windowHeight = function() {return this.fittingHeight(1);};
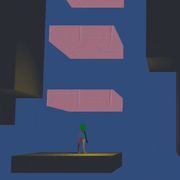
this.fittingHeight(1) 是什麼意思?其實就是行數的,比如說改成this.fittingHeight(4)看看結果:
嘩,變成四行了。
再來看看下面這段:
Window_Wand.prototype.refresh = function() {var x = this.textPadding(); //設定變數xvar width = this.contents.width - this.textPadding() * 2; //設定變數widththis.contents.clear(); //清空畫面this.drawCurrencyValue(this.value(), this.currencyUnit(), x, 0, width); //顯示金錢跟錢的單位};
解說一下drawCurrencyValue(),這個函式的功能用來顯示 數值+單位 。那為什麼我在Window_Wand裡面找找不到drawCurrencyValue()這個函式呢?
因為他寫在Window_Base裡面,而Window_Wand是繼承了Window_Base,所以才可以使用Window_Base裡面設定好的函式。
我們可以看一下Window_Base裡面怎麼設定drawCurrencyValue()的
Window_Base.prototype.drawCurrencyValue = function(value, unit, x, y, width) {var unitWidth = Math.min(80, this.textWidth(unit));//宣告變數unitWidth,用來設定單位的寬this.resetTextColor();//重設所有文字顏色,預設是白色this.drawText(value, x, y, width - unitWidth - 6, 'right');//顯示錢的值,並且靠右對齊this.changeTextColor(this.systemColor());//變更文字顏色為系統色,預設是淡藍色this.drawText(unit, x + width - unitWidth, y, unitWidth, 'right'); //顯示單位,並且靠右對齊};
字好多喔看不懂怎麼辦,沒關係啦drawCurrencyValue()裡面的內容也不是很重要,畢竟也沒有要去改他,我們只要知道有這麼一個東西存在就好了。我們只需要關注如何使用他!
來看原生程式的這一行:
this.drawCurrencyValue(this.value(), this.currencyUnit(), x, 0, width);
翻譯一下:
this.drawCurrencyValue( 值 , 單位, 位置x, 位置y, 寬度);
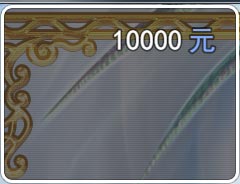
隨便改一下試試看:
this.drawCurrencyValue(10000, "元", x, 0, width);
結果如下:
不過這個10000元是我們寫死的,是假的,再來我們要看看要怎樣顯示遊戲裡的錢,我們先把this.value()跟this.currencyUnit()放回原本的位置上,然後看看下面這個函式:
//回傳隊伍持有的金錢給value()
Window_Wand.prototype.value = function() {return $gameParty.gold();};//回傳系統設定裡面的金錢單位給currencyUnit()Window_Wand.prototype.currencyUnit = function() {return TextManager.currencyUnit;};
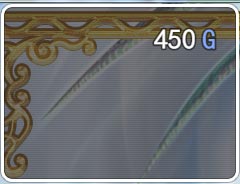
如果想要顯示資料庫裡面其他欄位,可以去改value(),或是自己新增一個value2()。只要把黃標的部分換掉即可,像是第一個角色的HP好了:
就變成這樣了:Window_Wand.prototype.value = function() {return $gameActors._data[1].hp;};
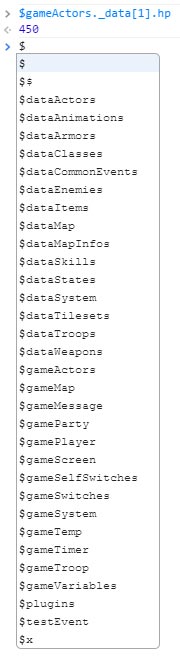
這時就要驗證一下第一個角色的HP是不是真的450,可以在執行測試的時候按下F8,呼叫控制台視窗:
在控制台的輸入地方貼上$gameActors._data[1].hp
驗證1:
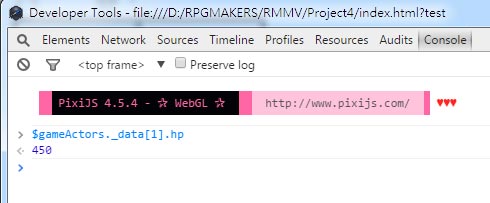
驗證2:

現在我們正確的叫到第一個角色的HP了,這邊可以再說明一下,所有$開頭的都是資料庫內預先設定好的全域變數,也可以直接在控制台內呼叫出變數內容。
控制台內可顯示所有的資料庫變數,
我目前還沒整理好全部的屬性對應,但是有幾份文件可以互相參照,比如說幫助文件最下面的JS庫中,前面有~符號的就是相關物件,用item舉例,item這個物件由上表知開頭是$dataitems[編號]
我們想知道編號1號的item是什麼名字,可以這樣輸入:$dataItems[1].name
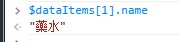
他就會回傳藥水,這樣可以驗證我們的資料庫專用變數名稱有沒有打對。
.name是$dataItems的屬性,一個內建的item會有這些屬性,可以用$dataItems[編號].屬性,去看他們的內容。
參考資料:中文的Item屬性表
好多喔 ...其實也不會全部都用到啦...還是回到我們的視窗上吧,Window_Base裡面也提供了非常多預先寫好的函式,不想使用drawCurrencyValue()的話,也有更簡單的drawText()可以用。
回到refresh來:
Window_Wand.prototype.refresh = function() {var x = this.textPadding();var width = this.contents.width - this.textPadding() * 2;this.contents.clear();this.drawCurrencyValue(this.value(), this.currencyUnit(), x, 0, width);};
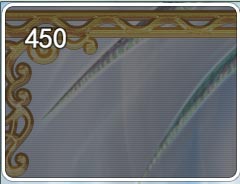
黃底的部分,直接換成:
this.drawText(this.value(), x, 0, width);
結果如下:
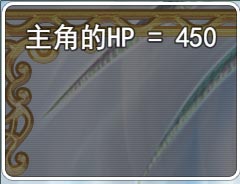
也可以寫成:
結果如下:this.drawText( "主角的HP = " + this.value(), x, 0, width);
也可以寫成:
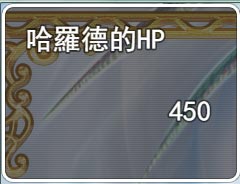
this.drawText( $dataActors[1].name + '的HP' , x, 0, width);

一個drawText只能有一個變數丟在裡面,所以想要同時寫 角色名字 跟 HP 的話,要分成兩段來寫:
this.drawText( $dataActors[1].name + '的HP' , x, 0, width);
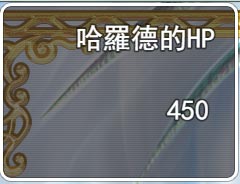
這時候就必須更改顯示位置,如果要同一行顯示,可以改x,如果要換行可以改ythis.drawText(this.value(), x, 0, width);
先改第二行的x看看:
this.drawText( $dataActors[1].name + '的HP' , x, 0, width);
this.drawText(this.value(), 150 , 0, width);

再試試看改y:
this.drawText( $dataActors[1].name + '的HP' , x, 0, width);
this.drawText(this.value(), 150 , this.lineHeight() , width);

this.lineHeight() 就是當前文字欄高的意思,如果要去第三行的話,可以這樣寫:
this.drawText(this.value(), 150 , this.lineHeight() * 2 , width);
至於width (文字寬度)有沒有用呢?如果有要改變文字對齊方式的話,寬度就很重要了,目前文字寬度會直接抓視窗的寬度扣掉內距,所以暫時不用更改width,我們可以直接去改對齊,像這樣:
this.drawText( $dataActors[1].name + '的HP' , x, 0, width , 'right');
對齊方式有三種,'left' 、'center' 、 'right' 要用字串
如果我想要顯示主角的頭、等級、HP的血條、那些東西呢?
太多了啦,下...下回吧
等等等等,還沒結束,還有最後一個函式沒說明:
Window_Wand.prototype.open = function() {this.refresh();Window_Base.prototype.open.call(this);};
//當視窗open的時候,去反複執行refresh
才能確保refresh裡面的東西立即更新,好的,本回真的結束了。